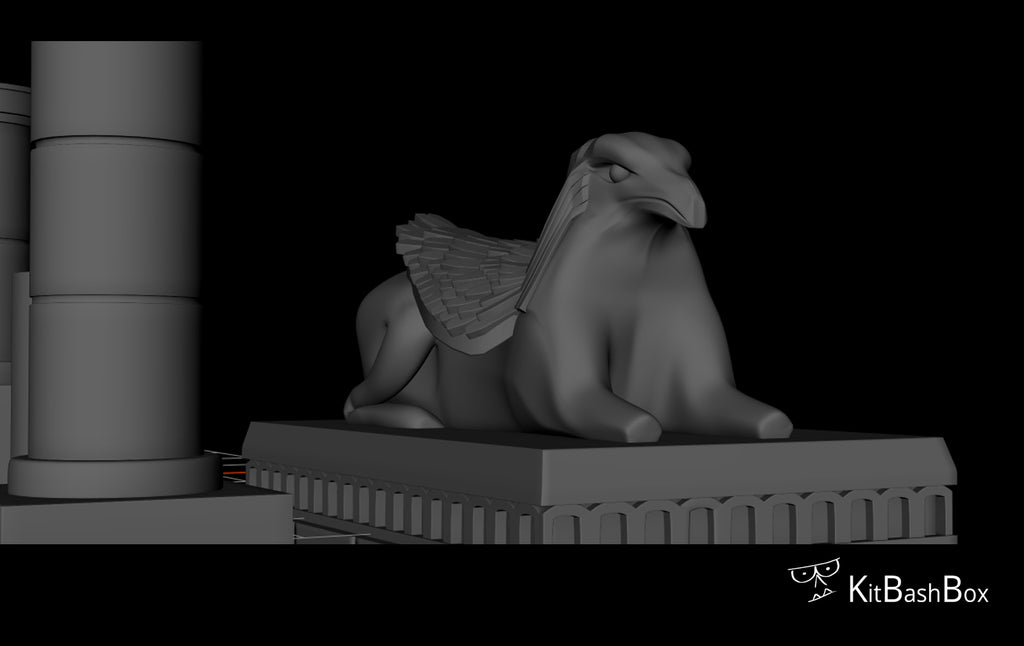
Amon Hen Part 5 Stairways of Stone
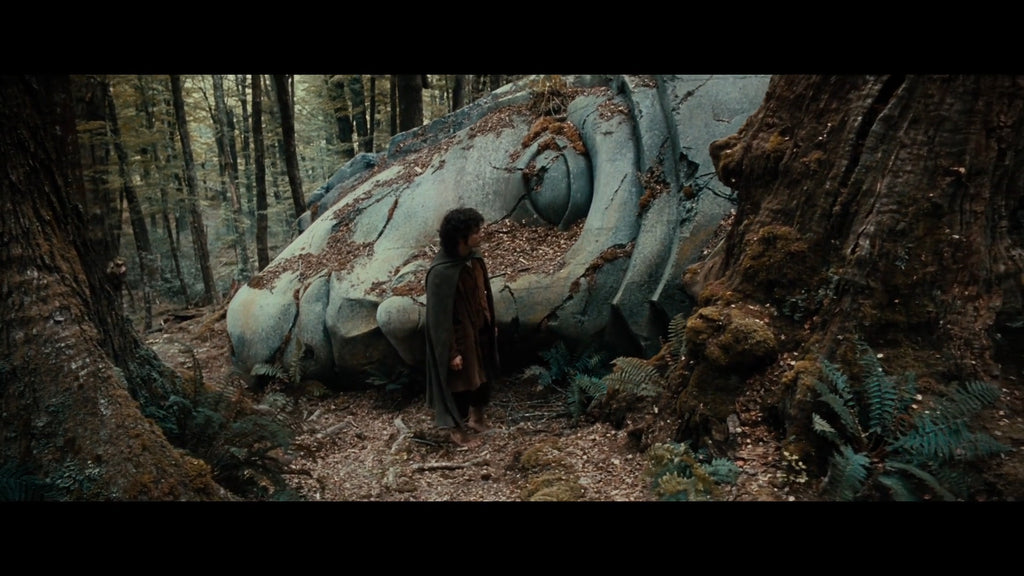
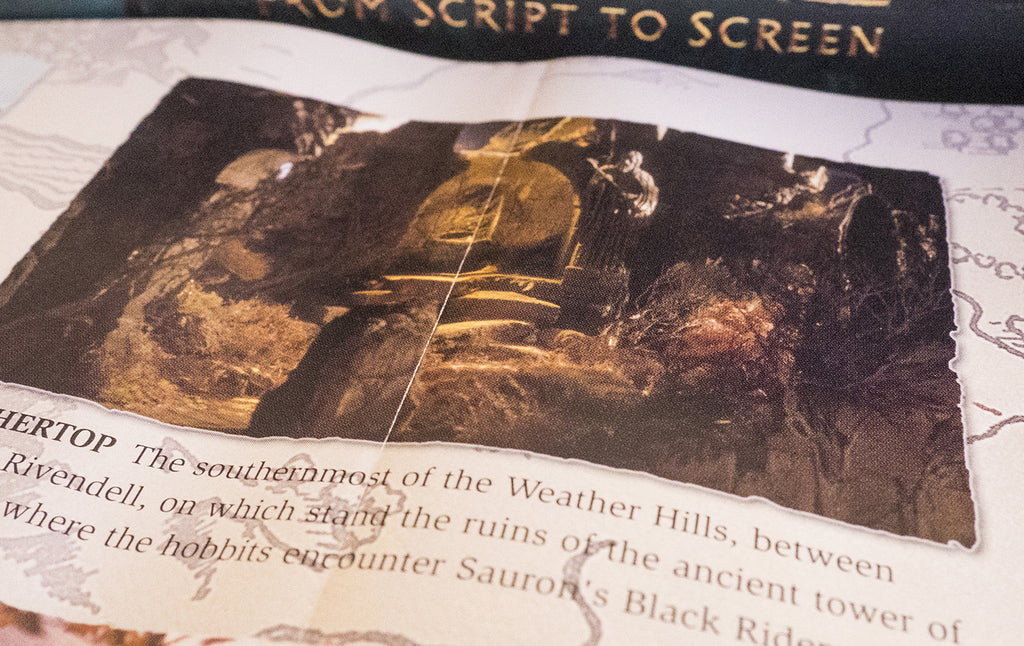
As we move up the hill, making it past the ruins we come to the ancient stairs of stone. The stairway is on screen for only a few moments, so its hard to get a sense of how the components fit together and the scale, amount of steps etc - so as always we start with the film as reference, some from the film and the behind the scenes:


These images are really helpful if you are creating your own. I also found these links incredibly helpful to further push the overall design:
http://universoasur.blogspot.com/2010/09/games-day-madrid-2010-parte-3.html
http://lotrscenerybuilder.org/
Starting with sketches to build familiarity with the piece, I worked on some of the features and rough scale from the footage of the people next to sections of the walls etc


So from here I needed a solid starting point, an anchor to get me started with size and scale. When we look at Frodo by the steps, they are roughly the same height as he is to the first platform (he is walking those steps no body double) so if we take the rough height and divide it by the amount of steps we can start to work out a general size for that section. I used my GW Aragorn model and some polystyrene to start roughing out sizes


From here I could use this as a prototype scale, I made a model in Maya to represent the shape and size, and then made one 10% larger as sometimes a slightly larger scale woks better with the models

This is the initial scale version
And here is the 10% larger 'heroic' version

I felt that the larger piece had more presence to it, it felt more majestic and striking but still worked well as a scale to fit in and around the models.
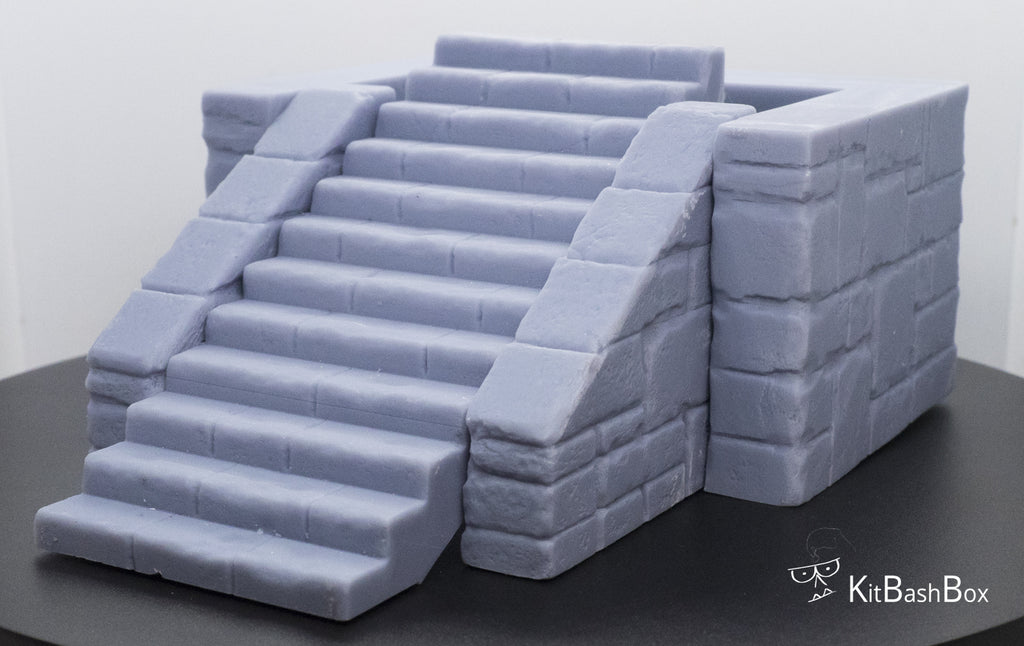
Now I had a scale for the steps, and the first piece up the next platform. I could create the walkways and add the other details around that, and so in Maya I built a basic model to work from

I then used this to make more detailed version over it


I imported the models into ZBrush and started detailing, matching cracks, dents and any details I could find to keep it as faithful as possible to the original


The model was produced to be multi part, but because it sits across several levels I need to create some keys for the model to fit together more like a kit. A key and keyhole is a way of creating points on two surfaces so they can be joined together.


Once all the parts are prepped I print them on the Elegoo Saturn, and dry fit them together for test fitting


I hope you enjoyed the breakdown, there is a video here which also goes into a lot of depth for this build:
https://youtu.be/9fdT1rAWG7o
Enjoy!
]]>